
Note: This is the part2 of Building A Rest API Endpoint for Ticket App With Django. The first path can be found here
Writing Serializers
In the previous article, I explained how we can easily create our TicketSerializer and so on using the HyperlinkedModelSerializer class. It actually helps us set up everything we basically need in a serializer and linked it for us.
However, to some extent you need to know whats going on in the background and that’s where this article will come in handy, we’ll be build our own Serializer class. And of course, I presume you know what Serializer is.
In this article, I’ll only explain two major Serializers classes whichare:
- Serializer
- ModelSerializer
We’ll look at how to create our TicketSerializer , UserSerializer , and CategorySerializer with them.
Serializer
This is the base class used to write other Serializer class and it works the same way Django’s Form class does. Lets rewrite our UserSerializer
class UserSerializer(serializers.Serializer):
    id = serializers.IntegerField()
    username = serializers.CharField(max_length=200)
    password = serializers.CharField(max_length=100, style={"input_type":"password"})
    is_staff = serializers.BooleanField(default=False)

    def create(self, validated_data):
        """The function called when you create a new User object/instance"""

        return User.objects.create(**validated_data)

    def update(self, instance, validated_data):
        """
        Update and return an existing `User` instance, given the validated data.
        """
        instance.username = validated_data.get('username', instance.username)
        instance.password = validated_data.get('password', instance.password)
        instance.is_staff = validated_data.get('is_staff', instance.is_staff)
        instance.save()
        return instance
Congrats! You have successfully create your own serializer.
The create() function will be called whenever a new instance of the object is created while the update() function will be called when you update an existing instance of an object and return that instance.
Let’s test our new UserSerializer by using the Django shell:
python manage.py shell
Then we create an instance of a user:
from django.contrib.admin.models import User
from tickets.serializers import UserSerializer
user = User.objects.create(username="oyetoketoby80", password="oyetoketoby80")
Then we can now retrieve the instance of the object we just created:
userserializer = UserSerializer(user)
userserializer.data
# {'id': 1, 'username': u'oyetoketoby80', 'password':'passwordhash'}
You can also convert it to JSON data type:
from rest_framework.renderers import JSONRendererjson
content = JSONRenderer().render(userserializer.data)
# '{"id": 1, "username": "oyetoketoby80", "password": "passwordhash"}'
ModelSerializer
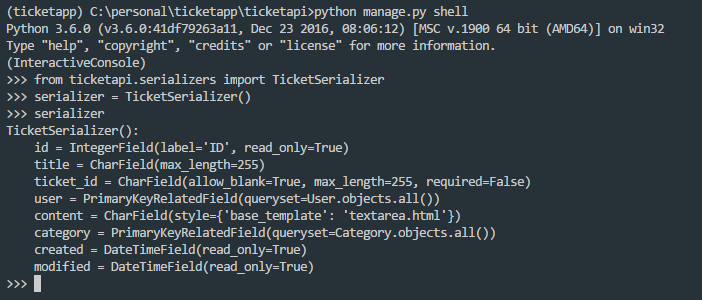
As the name implies, ModelSerializer is a type of serializer that automatically configure your serializer base on your model. It’s similar to Django’s ModelForm class. Let’s rewrite our TicketSerializer
Class TicketSerializer(serializers.ModelSerializer):
    class Meta:
        model = Ticket
        fields = ('id','title', 'ticket_id','user', 'content', 'category','created', 'modified')
That’s very easy, isn’t it? Its almost the same as the HyperlinkedModelSerializer and you can test it the same way we did above.
That’s all.
Rewriting Our Model and Serializers
Now since we know how to write custom serializers, lets rewrite what we wrote in part1.
Firstly, we need to add astatus field in our models. This shows whether a ticket is pending or closed. So open the model.py
from django.db import models
import uuid
from django.contrib.auth.models import User
# Create your models here.

status = (
    ("PENDING", "Pending"),
    ("CLOSED", "Closed"),

)

def generate_ticket_id():
    return str(uuid.uuid4()).split("-")[-1] #generate unique ticket id

class Ticket(models.Model):
    title = models.CharField(max_length=255)
    user = models.ForeignKey(User, on_delete=models.CASCADE)
    content = models.TextField()
    category = models.ForeignKey("Category", on_delete=models.CASCADE)
    ticket_id = models.CharField(max_length=255, blank=True)
    status = models.CharField(choices=status, max_length=155, default="pending")
    created = models.DateTimeField(auto_now_add=True)
    modified = models.DateTimeField(auto_now=True)

    def __str__(self):
        return "{} - {}".format(self.title, self.ticket_id)

    def save(self, *args, **kwargs):
        if len(self.ticket_id.strip(" "))==0:
            self.ticket_id = generate_ticket_id()

        super(Ticket, self).save(*args, **kwargs) # Call the real   save() method

    class Meta:
        ordering = ["-created"]

class Category(models.Model):
    name = models.CharField(max_length=200)
    slug = models.SlugField()

    def __str__(self):
       return self.name
Then we need to update our serialers.py but before that, I’d suggest moving your serializers.py file in the tickets app folder and update the import line in your views.py.
_from_ django.shortcuts _import_ render
_from_ rest_framework _import_ routers, serializers, viewsets
_from_ tickets.serializers _import_ UserSerializer, TicketSerializer, CategorySerializer
_from_ django.contrib.auth.models _import_ User
_from_ tickets.models _import_ Ticket, Category
Open the serializers.py
Then we are done!
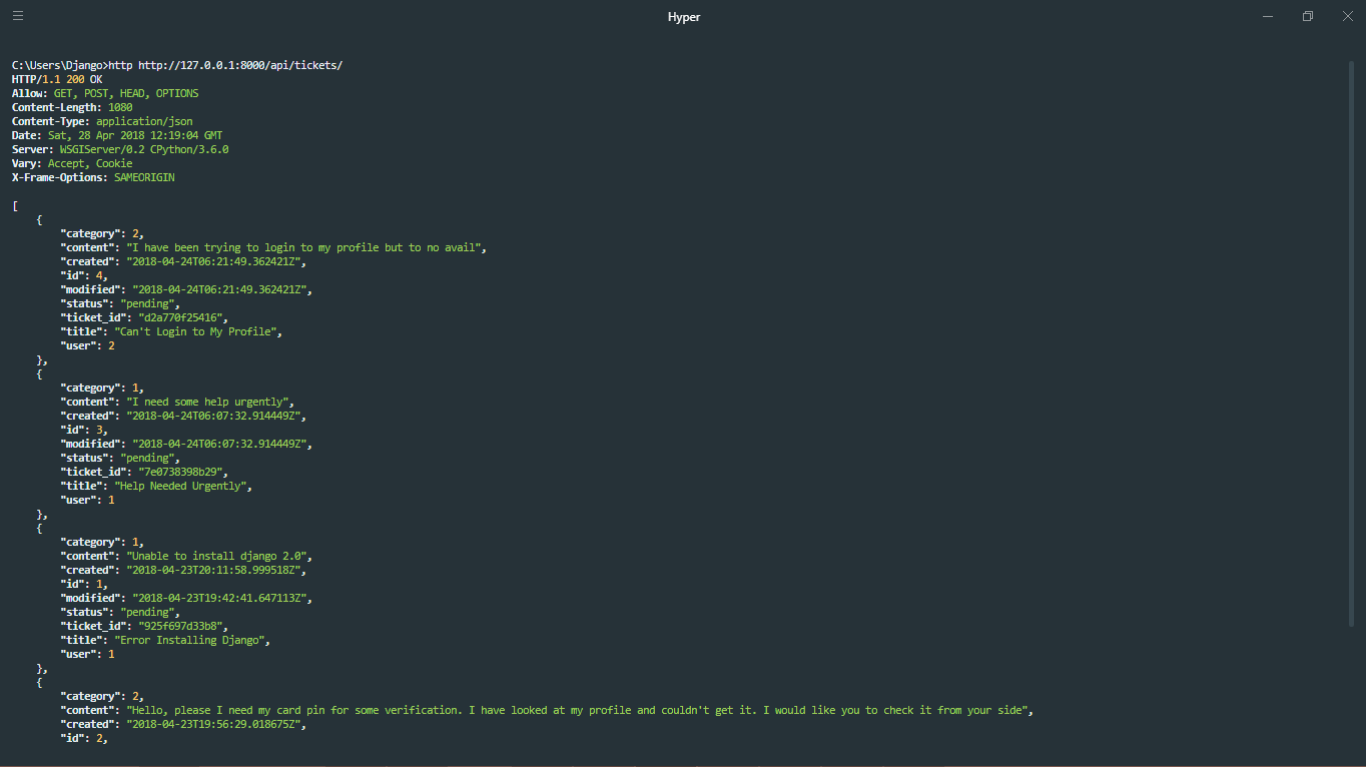
Now lets test our enpoints with httpie, do pip install httpie to install httpie.
Then run this:
`http  [http://127.0.0.1:8000/api/tickets/]
(http://127.0.0.1:8000/snippets/)`
Summary
In this article, we have explore how to write custom serializer, restructure our serializers and some general changes. To dive in more about serializers, do check the offical documentation about serializers.
In the next article, we’ll learn how to create our own views/viewset. So do check, to see if the next part is out.
Thanks for your time.
If you enjoyed this article, clap to your hearts content.